In this post, let’s take a detailed look at how to organize notes on the iPhone with the help of Tags.
Add Tags to iPhone Notes
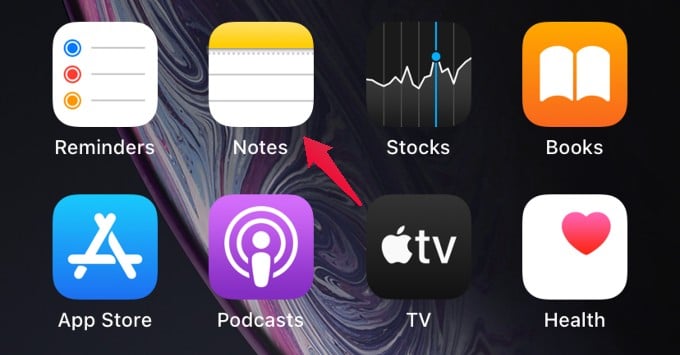
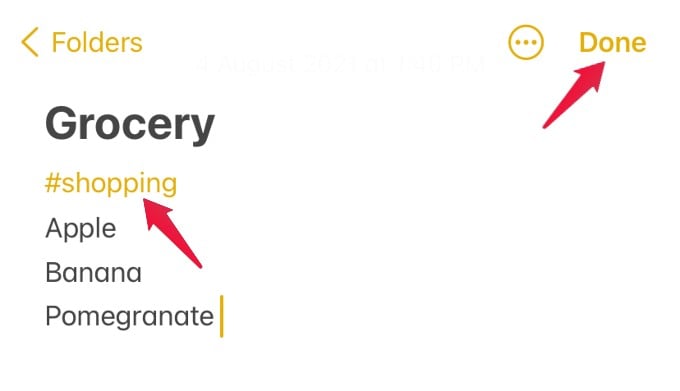
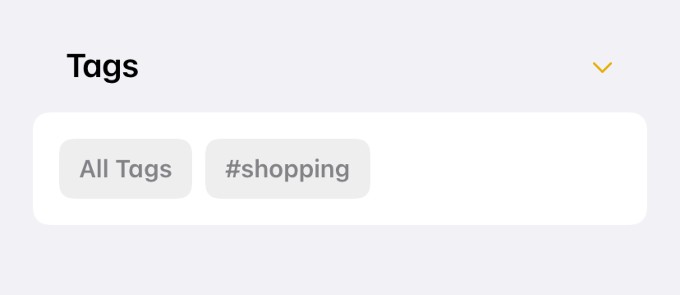
If you have many notes on your iPhone, keeping them organized will be a big challenge. However, if you follow the practice of adding relevant tags, then it will be easier to find your notes whenever it is needed. You can add a tag to a new note or an existing note. Let’s see how to do that. Launch Notes app from your iPhone. Then, tap on the Compose icon located on the bottom right to create a new note. To add a tag to a note, type a hashtag (#) followed by the tag name and then add a space after the text. Once you add the space, the color of the tag will change to yellow to confirm that the tag has been created. Here, I made a shopping list with the tag #shopping. You can add tags to any part of the note like in the beginning, end, or anywhere you like. Once you finish creating the note, tap Done on the top right to save the changes. Now, if you go back to the main screen of the Notes app, you can see the new section Tags. Under that, you can see all the tags you had created.
View Notes by Tags on iPhone
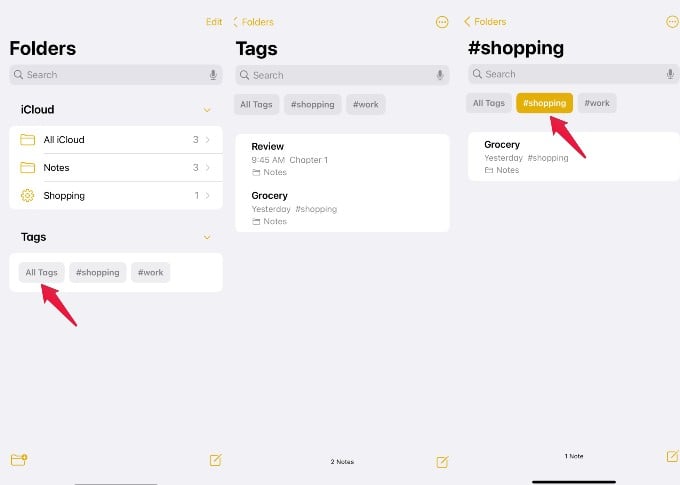
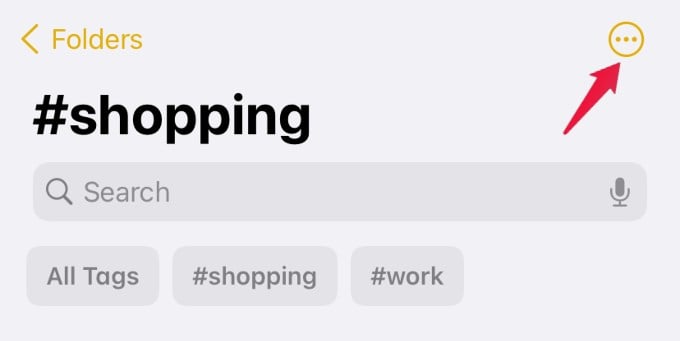
After creating tags, you need to know how to use them in the Notes app. Only then, it will help you to organize all your notes and search for a particular note quickly without spending too much time. Launch Notes app on your iPhone. In the Folders screen, look for the section Tags. If you tap on All Tags, you will see the list of all the notes that have tags. If you tap on the name of a specific tag, then you will see only the notes that contain that tag. In the screenshots above, you can see how my iPhone shows me all the shopping lists when I tap the #shopping tag on the iPhone Notes app.
Sorting Notes with Tags
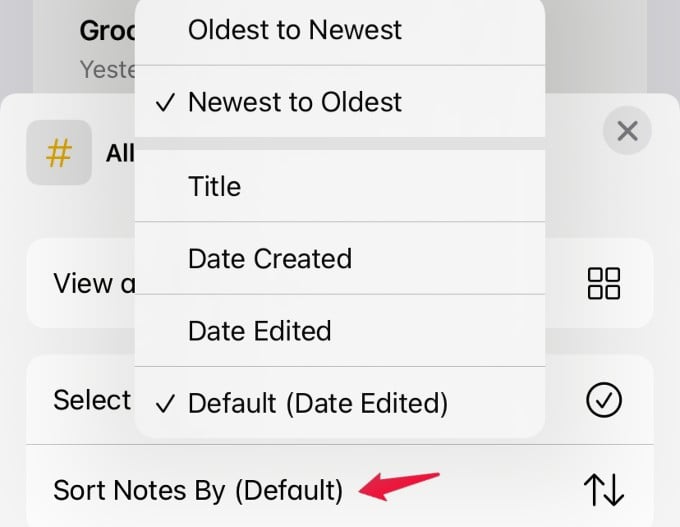
If you wish to arrange your notes by the tags, you can also do that. In the Notes app, go to the Tags screen by tapping All Tags text or a specific tag. Then, tap the three-dot icon on the top right. In the pop-up menu, tap on Sort Notes By (Default). Here, you will see a list of multiple options to sort the tags based on title, date created, date edited, etc. You are free to select the option you need.
Create Smart Folder to Organize Notes on iPhone
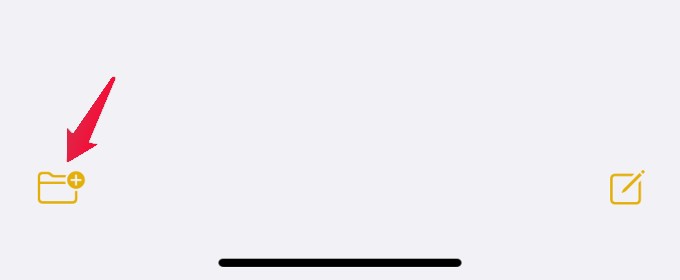
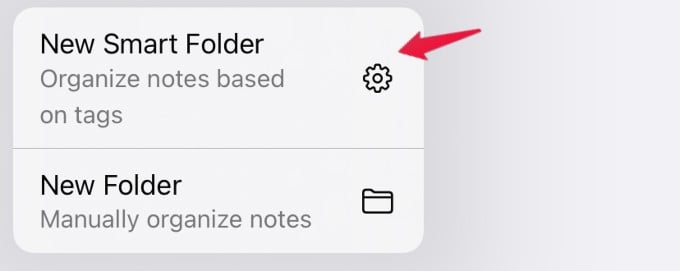
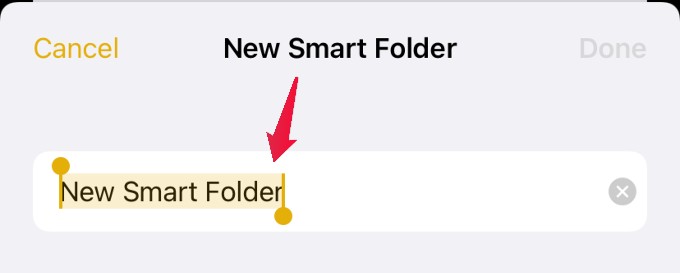
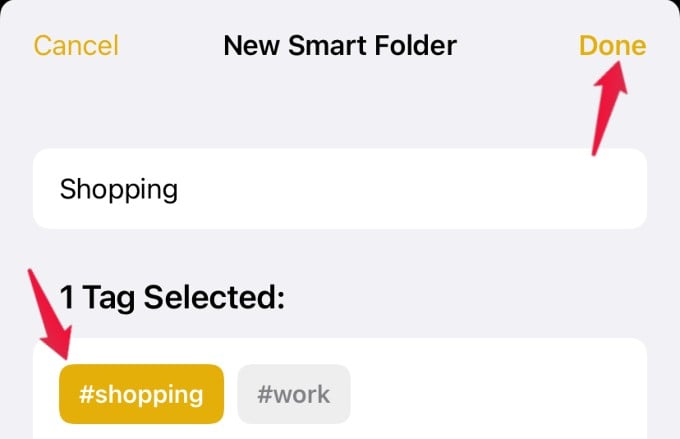
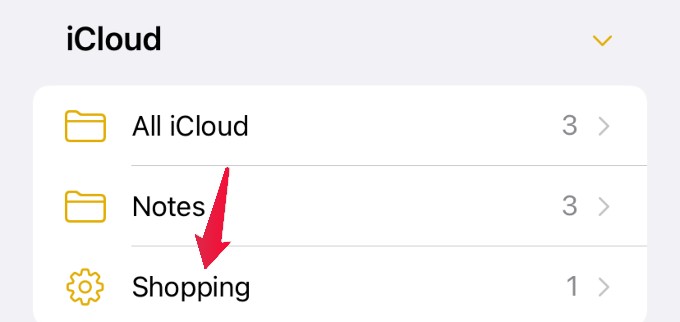
In addition to Tags, the Notes app has another cool feature called Smart Folder to quickly organize tagged notes. The Smart Folder will automatically add the notes to folders based on the tags. Let’s see how to use the Smart Folder feature. Launch Notes app from the home screen of your iPhone. Tap the Folder icon located at the bottom left of the screen. In the pop-up menu that appears, tap on the option New Smart Folder. On the new screen, type a name you wish to keep for the smart folder. Make sure you choose a name that is related to the notes you want to save in this folder. (eg. Shopping). Then, under the section Select Tags, tap on the desired tags that you want for the smart folder. Then, tap Done on the top right. Then, you will be redirected to the home screen of the Notes app. Here you can see the newly created Smart folder name listed next to the gear icon to differentiate that from the normal folder. Now, whenever you create a note with the tags you had selected, those notes will be automatically stored in the smart folder. Well, by using tags along with Smart Folders, you don’t need to spend time organizing notes to folders as it is automated. This will be very handy especially if you are creating notes on iPhone on a regular basis using the same tags.
Δ


