For those who have at least heard of Linux will have heard just how customizable it is. A lot of people probably switch to Linux for more meaningful reasons. I started using Linux in 2014 because I realized it was far more customizable than Windows. I wanted my PC to look like a Mac. Yet, I didn’t want to shell out all that cash. That’s what drove me to try Ubuntu. Apple’s new macOS Big Sur introduced many design changes. Obviously, I had to try to transform my Ubuntu to macOS Big Sur. The WhiteSur GTK Theme by vinceliuice is just the perfect thing for it. In this article, we will guide you through how to make Ubuntu look like macOS Big Sur using the WhiteSur GTK Theme. Content
Requirements to Transform Ubuntu Into macOS Big Sur
There are some things you’ll need before you can begin installing custom themes on your Ubuntu GNOME desktop though.
1. Dependencies
The WhiteSur GTK theme has certain dependencies that need to be installed. If you’re not familiar with Linux terminology, dependencies are packages that another package or app depends upon to function properly or even be installed. To install the required dependencies, just launch a terminal and enter the command below: sudo apt install gtk2-engines-murrine gtk2-engines-pixbuf Enter your password, hit Enter, and then press Y when asked. Similarly, run the following command as well: sudo apt install sassc optipng inkscape
2. GNOME Tweak Tool
The GNOME Tweak Tool is a handy piece of software that you should immediately install if you’re using Ubuntu. Along with the ability to apply themes, it gives you plenty of other options. To install it, simply run the following command in a terminal: sudo apt install gnome-tweak-tool
3. User Themes Extension (Optional)
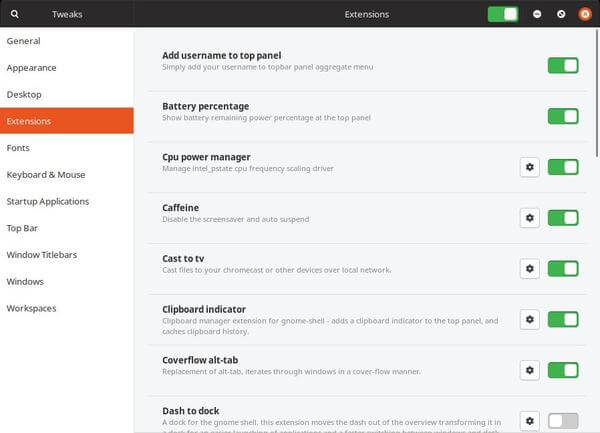
By default, GNOME doesn’t allow users to play with the GNOME shell theme. This includes the desktop interface. You can still change the app theme and the icon theme. Therefore, the User themes extension is optional but recommended. If you don’t know how to install GNOME extensions, you can check out our guide. It will show you not only how to install extensions but also some of the best GNOME extensions you should try.
4. Dash to Dock Extension (Optional)
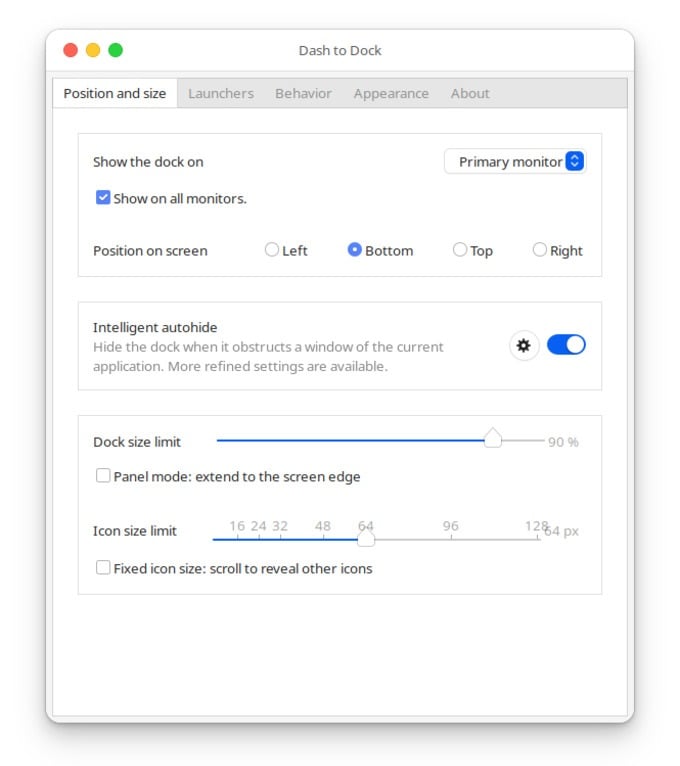
By default, the GNOME dock is hidden in the Activities screen. On Ubuntu, it is located as a panel on the left edge of the screen to mimic the Unity layout. But macOS has its dock horizontally at the bottom. Dash to Dock is an extension that gives you more control over the appearance and placement of the dock. Obviously, it also lets you move the dock to the bottom just like on macOS.
Install WhiteSur GTK Theme on Ubuntu Linux
Once you’ve installed the dependencies, installing the WhiteSur GTK theme only takes a couple of steps. That is if you choose the CLI route. If you want to use your mouse and click things, it can be a bit of a hassle. You’ll have to visit the GitHub link and download the theme as a zip file. Then, you’ll need to extract it, and place the extracted folder in your Home folder. Once that’s done, you’ll need to enter the folder, open a terminal inside it and finally run the provided install script. So, after several steps, you’ll still end up in the Terminal. Therefore, we recommend simply using the terminal from the start. Launch terminal and enter this command to clone the git repository to your home directory: git clone https://github.com/vinceliuice/WhiteSur-gtk-theme Next, navigate to the cloned folder with the following command. cd WhiteSur-gtk-theme Use the provided install script now to place the necessary files in the right places. ./install.sh
Install macOS Big Sur Icon Theme on Ubuntu Linux
The WhiteSur theme gets plenty right. However, the icon theme it uses is a rounded macOS icon theme instead of the iOS-like Big Sur icons. The developer probably chose this because right now there aren’t many Big Sur icon themes that are extensive. This Big Sur icon theme by yeyushengfan258 is one the better ones you can find right now. As with the GTK theme earlier, you can simply install the icon theme with a few commands.
Clone the git to your home directory with this command.git clone https://github.com/yeyushengfan258/BigSur-icon-theme Navigate to the icon folder with the following commandcd BigSur-icon-theme Install the icon theme using the provided install script../install.sh
macOS Cursor Theme
Cursor themes on Ubuntu Linux are located in the same folders as Icon themes, although they’re still different. If you want macOS cursors, visit this link and download the zip file from the Files tab. Extract the contents of the zip file then place the extracted folder in the .icons folder in your home directory.
Make Ubuntu Look Like Mac with macOS Big Sur
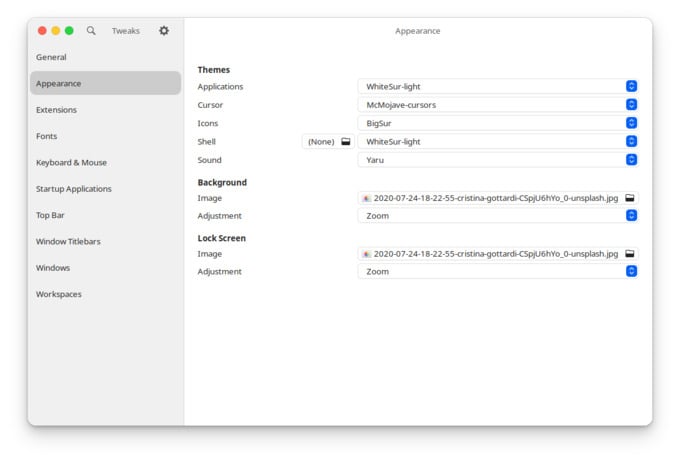
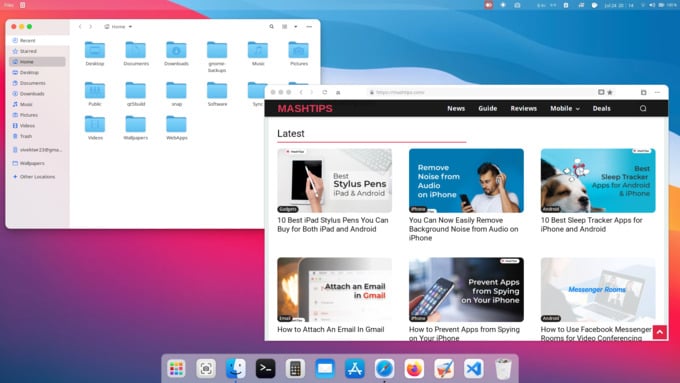
With the GTK theme and icon theme installed, all that is left is to apply them. The themes will be applied as soon as you select them. In case you need them, you can download the macOS Big Sur wallpapers from the WhiteSur GTK Theme GitHub page as well. To get the macOS launchpad icon, I have used another GNOME extension called Arc Menu. It lets you customize the icon as well as the menu layout. However, you’ll lose the launchpad like layout that GNOME has by default. But there you have it. Your Ubuntu GNOME now looks quite a lot like macOS 11 big Sur.
Δ


![]()
